Press Key
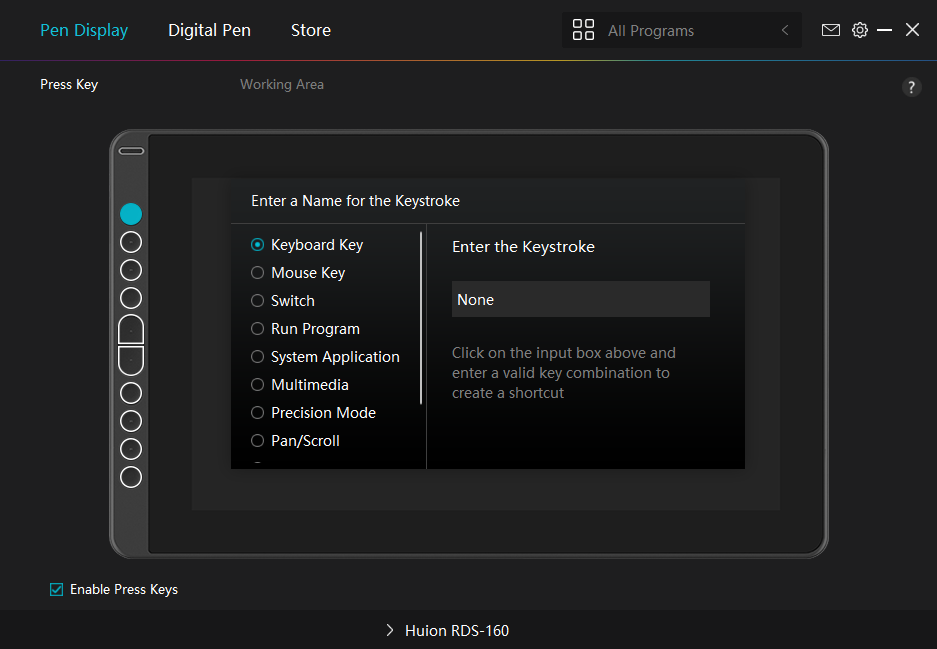
Refer to this table of settings below to help you decide if you want to change the existing settings.
Note: The performance of functions in the table below is up to the device that users have connected.
| Keyboard Key | Click on the input box above and enter a valid key combination to create a shortcut. |
| Mouse Key | Select the functions of a Mouse or Wheel. Please see the picture below for detailed information of these functions. Mouse: Left Button, Right Button, Middle Button, and Double-left Click. Wheel: Wheel Forward and Wheel Backward. Other functions: Ctrl, Alt, Shift, and Win . |
| Switch | Select among Switch Screen, Switch Brush. |
| Run Program | Click Browse and select the program that you want to run quickly. After that, press the key to launch the item. |
| System Application | You can apply these functions to press keys: Lock the Screen, Sleep, Power Off, |
| Multimedia | You can apply these functions to press keys: Previous Song, Next Song, Play/Pause,Volume up, Volume down, and Muted. |
| Precision Mode | You can toggle between normal precision and a precision that you choose, from Fine to Ultra Fine. In the Precision Mode window that appears, move the slider to set the precision that you toggle into. For example, if you assign Precision Mode to a pen button, when you press the pen button, you switch to working in the precision that you selected from the slider. When you press the pen button again, you switch back to working in the normal precision. Press “Esc” to exit Precision Mode. |
| Pan/Scroll | This function allows you to pan and scroll in a document or item by moving the pen tip up and down or right and left.When you select Pan/Scroll, the Scroll Speed window appears. Move the slider to your preferred scrolling speed. |
| Quick Menu | Pick it up and you can use the key to pull up the Quick Menu. Detailed information for reference is down below this table. |
| Fixed Pressure Sensitivity | You can lock the pressure at the current level until you release the component. For example, if you assign this setting to a pen button, you can paint with pressure sensitivity enabled in your application until you reach the brush size you like. Then, press and hold the pen button to lock in that brush size as long as you are pressing and holding the button. |
| None | When select None, the keys will have no function. |
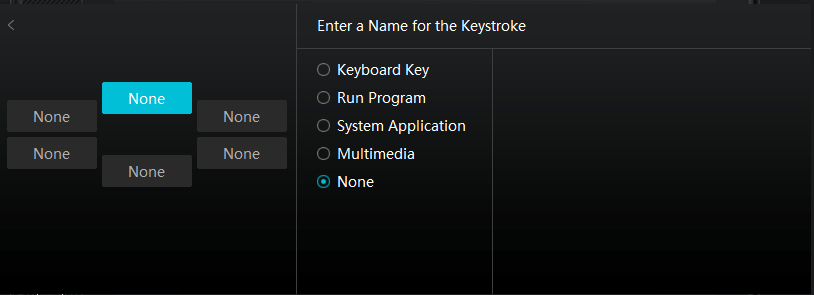
Note: The pictures are for reference only.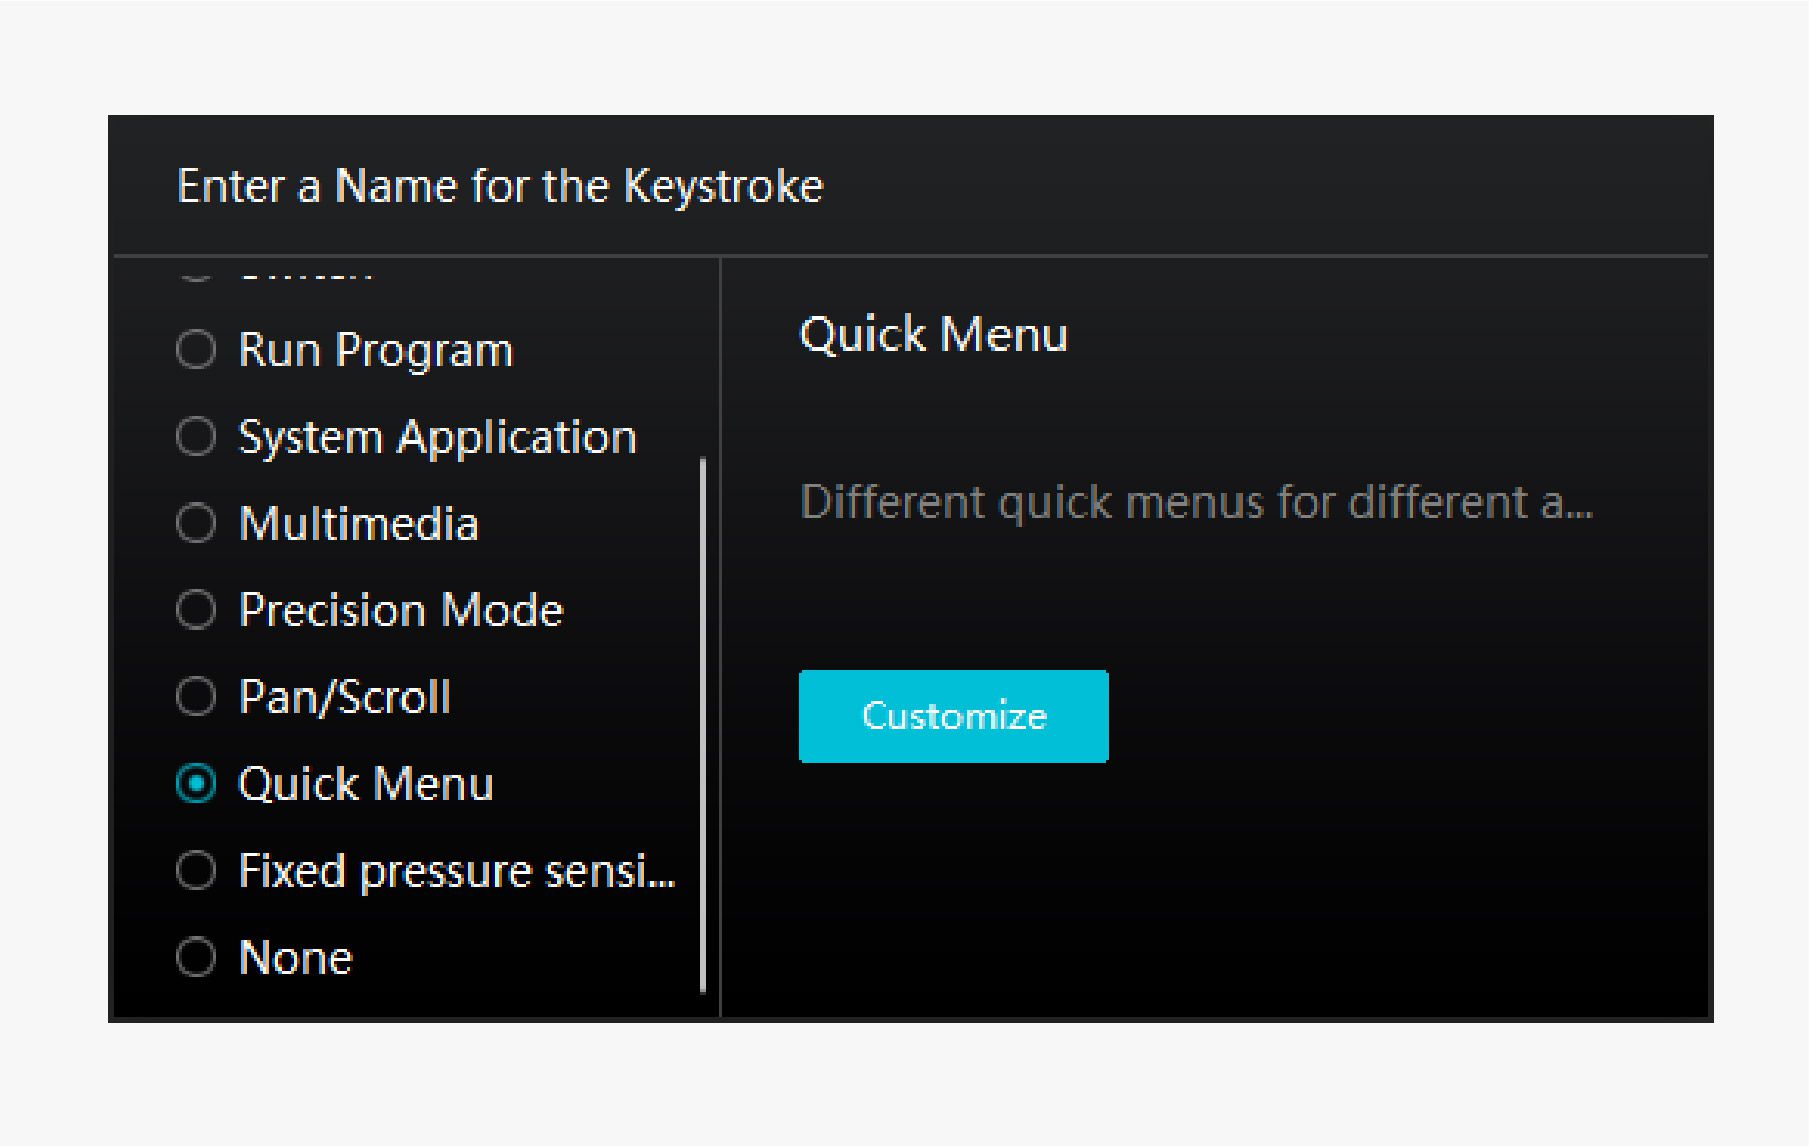 of the six buttons on the left, users can enter a name for it and set unique function for it. After that, users can call up the Quick Menu by pressing the key (see picture 2). The menu disappears after a click on any of the six buttons. By clicking “Fix” once the menu will be fixed on the desktop while after a second try the “Fix” button changes to “Close” and the menu disappears (see picture 3). Put the cursor on the menu to drag it.
Picture 1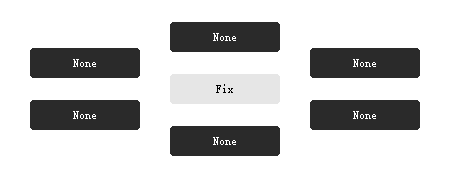
Picture 2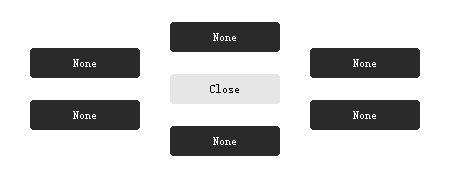
Picture 3
Working Area
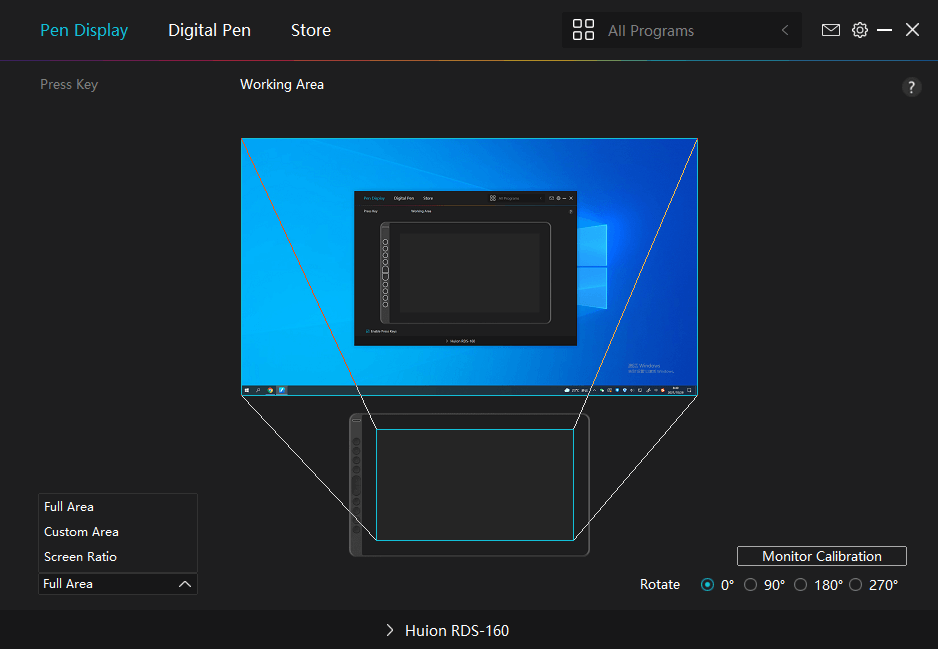
By default the entire active area of device maps to the entire monitor. If more than one monitor is in use and you are in extended mode, you need to choose the related monitor on the driver interface which you are going to map to.
If your monitors are in mirror mode (All monitors display the same content), the device maps to the entire space on each monitor and the screen cursor is displayed on each monitor simultaneously.
1. Working Area Setting
Define the device area that will be mapped to the screen area.
[1] Full Area: the entire active area of the device. This is the default setting.
[2] Screen Ratio: As a general rule.
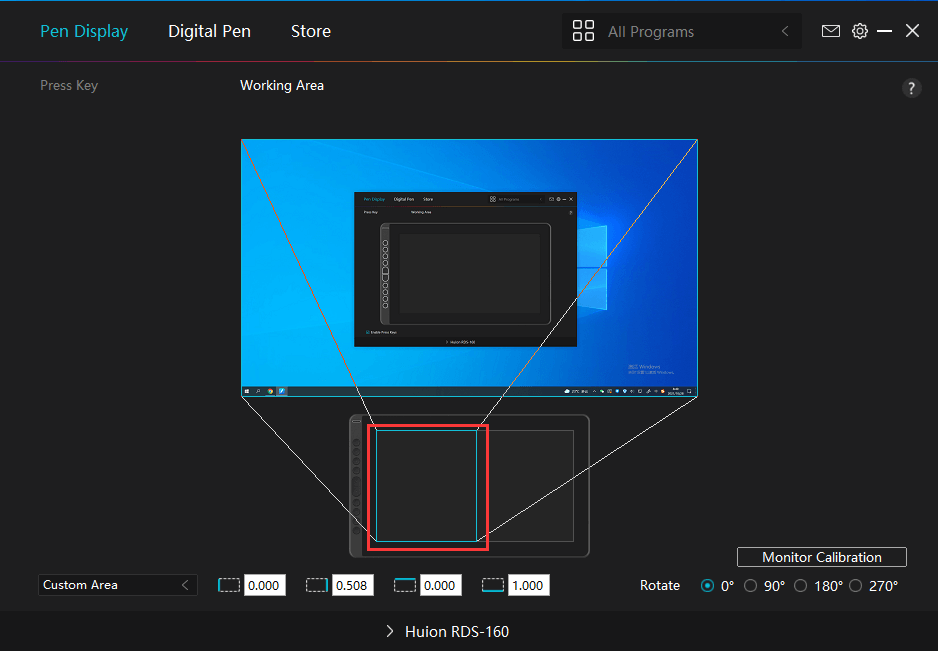
[3] Customized Area:
1> Enter coordinate values.
2> Drag the corners of the foreground graphic to select the screen area.
Picture 1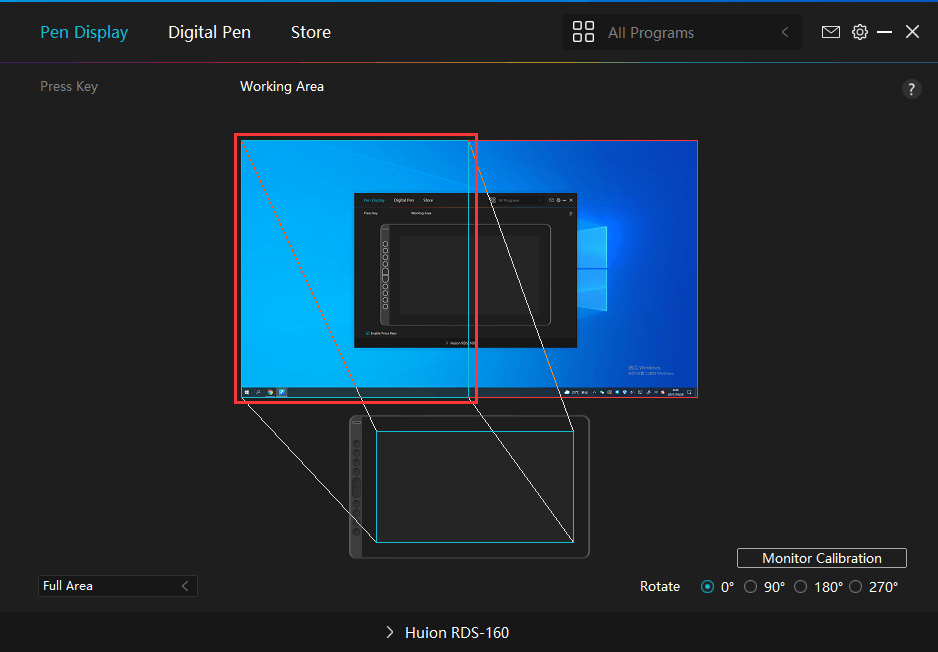
Picture 2
Picture 3
2. Rotate Working Area
By changing the direction of the device to adapt to the left and right hand operation. You can rotate the tablet by 0°, 90°, 180° or 270°.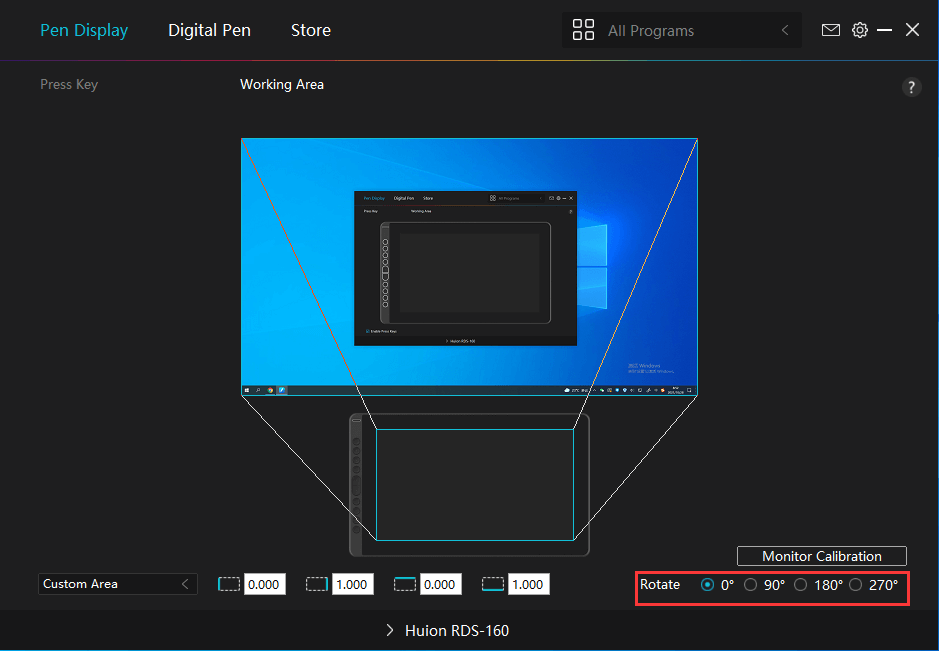
3. Monitor Calibration
Click "Cursor Calibration" to enter the calibration page and operate according to the prompts.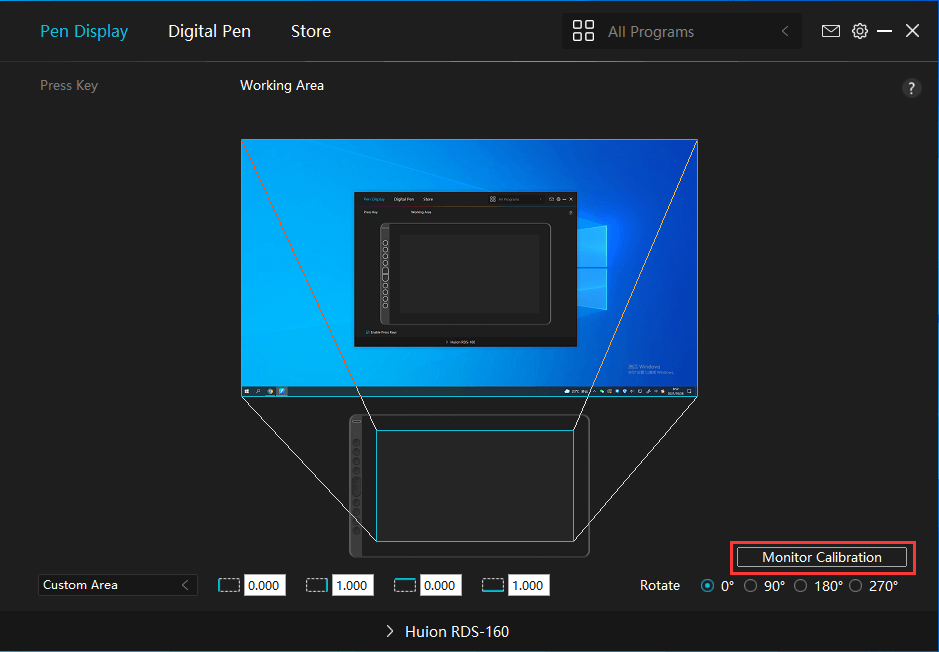
Please use the digital pen to click on the center red dot of the cross in a common pen-holding posture. You can cancel Calibration and restore default.